What's with Gaffer Anyway?
Ever wondered why Gaffer lacks modeling and animation tools but is still highly praised? Discover what Gaffer really is, how it handles lookdev and lighting at scale, and why it's an invaluable scene assembly tool for indie 3D artists.
Admit it, you’ve heard about Gaffer and you to tried it, but your first impression was somewhere along the lines of
… But why?!
Your second attempt improved your perception, and your assessment was upgraded to …
… But it doesn’t have modelling tool, rigging, character animation or FX!!! Why?!
But Gaffer wasn’t going away so you muster your energy and give it one more go, this time you really put the effort to follow YouTube videos that felt like a dubstep version of an actual course, but you’ve persevered, you’ve put in the hours. And now you have a much better understanding and appreciation for what Gaffer is, so your assessment is along the line of:
… But this going to make me slower! I can literally do this much faster in Blender (put any DCC here really)!!!
Yes, you are not alone. And yes! it is completely normal to have these thoughts and impressions about Gaffer. Before I tell you what Gaffer is I’ll answer your burning question, is Gaffer good for your work or career? The short answer is Yes! It is very much an invaluable tool in your arsenal, and yes, you should start using it for all your projects.
I’m an Indie artist, so I‘m writing this article with Indie artists, freelancers and small studios in mind. This is not about how Gaffer is used in a VFX pipeline, but rather how can Gaffer help you in your own work. Be it an Instagram animated post or an animation for a TV ad or a YouTube video.
What is Gaffer?
Gaffer is an open-source scene assembly, lookdev, lighting and VFX application developed by Image Engine Design Inc. Out of the box Gaffer supports Cycles render engine in full. So, anything that can be done with Cycles in Blender can be achieved with Cycles in Gaffer. Gaffer also supports 3Delight render engine, you have to have it installed first to use it. Gaffer also supports Autodesk Arnold and Pixar RenderMan. If you have these two installed, you are ready to go.
The Arnold integration is first-class citizen in. Meaning it has been used and tested in numerous feature films and VFX projects, it fully supports everything that Gaffer offers. RenderMan Is becoming first-class as well, so for 95% of users they won’t notice any difference.
As for Cycles and 3Delight, they are supported but depending on your VFX use you might find some kinks that requires reporting to be addressed in future releases.
Gaffer is free to use and artists have full access to the source code under the BSD-3 License. The Gaffer community is one of the best honestly, it is based on Discord, and this is where the actual developers and maintainers of Gaffer lurk as well, so often Artists get feedback, responses and even bug fixes directly from the developers.
Now, the is the politically correct version of what Gaffer is. I’m sure you already read that somewhere. What does it really mean for Indie artists though and much smaller teams?
What is Gaffer really!
Let me try to explain what Gaffer by using an example. You must have heard or used Adobe Illustrator before, right?
The Metaphor
Illustrator It is a fantastic software for all things vector illustration and has been around for ages. One can design anything in Illustrator. From icons all the way to large scale posters and even book covers and comics as well. But Adobe has another product named In-Design. And for those who don’t know what In-Design is, it is a vector software as well. So, what is the difference? Why does Adobe maintain two vector illustration software? And why do some artists favors Illustrator over In-Design? Or the other way around?
It helps to understand the problem first to that In-Design is trying to resolve, which kind of gives some clue of why Gaffer exists.
So, the problem that In-Design is trying to solve is scale. It is not trying to solve vector illustration. We already have Illustrator for that, but what illustrators’ lacks is a vector illustration tool at scale.
What do I mean by at scale? Take the case of an artist designing a magazine. Illustrator is more than capable of designing all the pages. The problem with illustrator though it doesn’t have the concept of pages for starters. Illustrator work in layers and layers only. There is Artwork, but the layers are shared between artworks, and more importantly you cannot easily move things around and do ordering or "pages" if you we were designing them in Illustrator. Also, add 20 or more of these Artboard and illustrator will crawl to a halt. So, organizing pages is extremely difficult and almost impossible if you want to have 100 pages or more. In-Design have layers but also have the concept of pages at its core instead of layers. You can create a master page template for many types of pages, move them around, lay them side by side, do anything you want with those pages, and do more than a 100 pages, it’s all good.
The second thing Illustrator cannot do is type based rules. If I have 10 Artboard in illustrator and I want to change all the headers to a specific font then I must change the headers one by one in every artboard. Same goes for paragraphs, bullet points and quotes. Text in Illustrator is just that, text! It doesn’t have a role or a purpose, as such you cannot tell Illustrator to change all headers to these properties. However, In-Design text and paragraph styles are easily defined, and any text you write can be assigned to any of these styles. So, changing the style will change all associated texts across many pages.
A third thing Illustrator cannot do is text flowing from one page to another. If I add more content to a text container, the text overflow will be cut. It will not flow to the other container. So changing text content over many pages or Artboards is a very laborious task. With In-Design text can flow freely between pages, even if it was flowing around shapes or images.
In the other hand In-Design doesn’t have a powerful, or meaningful vector tools. It does have some vector tools but none that rivals those found in Illustrator. Also, it doesn’t have basic image editing tools either, which Illustrator have!
So, Illustrator have all the tools that assist in advanced vector artwork creations but doesn’t have any meaningful tool for vector illustration at scale. And In-Design have all the tools for vector illustration at scale but nothing of the meaningful tools for vector illustration.
Let’s bring this back to Gaffer.
The Point ... Gaffer!
Gaffer is a VFX application that provides nodes and workflow concepts which allows artists and team to do look development (i.e. Lookdev) for one or more objects at scale. Meaning, an artist doesn't need to have separate projects for each object lookdev. All objects pertaining to the scene, scenes, shots or an entire feature can be live together under a single project file and still have the ability to lookdev each object separately but within context and by using shared nodes.
Also, Gaffer allows artists to light scenes, shots or shows with ease and at scale (There goes that word again, scale! I'll explain what it means in the next section). So along with being able to have all the shots in a single script (a script is the name given to the project file that is saved to disk which contains all the work done in Gaffer) Gaffer provides powerful workflow concepts to handle variations in camera, lighting and shading management in each shot without the need to reuse nodes or the dreadful shot_6_final_revision_17_final_5_i_hate_this_job_temp_6_wip.gfr file naming.
This also gives away that Gaffer is a scene assembly as well. An artist or a team export all of their assets, animations and FX from any DCC and import into Gaffer for lookdev, lighting and rendering. Gaffer can be used for instancing of assets to achieve any complex shot that requires thousands if not millions of instances.
In a very broad nutshell, that is what Gaffer is 👀 Was that a better description of Gaffer? No! .... mmmm
Alright! I'll explain the details with examples to get the point across.
Why Gaffer?
So, Gaffer doesn't have any modeling tools, no sophisticated animation tools, beyond a basic animation tools. No Character animation or rigging capabilities and No dynamics or FX tools. But the shading capabilities, scene assembly and lighting tools and workflow specific nodes are the things that make Gaffer appealing for many Artists. What are these capabilities.
1- Speed:
Gaffer is lightweight. In the world of 3D, lightweight means fast to load, fast to process and fast to iterate. When I load Maya on my machine for instance, I’m loading everything, from rigging, shading, lighting tools, animation tools, Bifrost, dynamics, plugins, render engines ... etc. Maya loads in 2min and 39 second on my machine! that is Maya 2026 with the 3 render engines and a handful of plugins. And when Maya loads in full it consumes 4.370 GB of my system memory. This is Maya with an empty scene (not even a default box in the scene) just Maya in an idle state twiddling its thumbs.
On the other hand, Gaffer, with 4 render engines, loads fully in 6 seconds with only 670 MB of system memory. For the artist this translate to faster scene loading, faster iterations, faster operations, faster system responses, and more room to work on larger scenes before exhausting the system resources.
Is it unfair to compare Gaffer, which has no modelling, character animation, or dynamics tools, to Maya and point out that its footprint is much smaller? Yes—and that is exactly the point. Because Gaffer has far less overhead to manage, such as IK, skinning, dynamics, and dependency graphs, it responds faster and translates scenes to the render engine much more quickly. For artists working on look development or lighting, iteration time is critical; every few seconds saved means more time spent experimenting and refining. So, when you compare Gaffer with your preferred DCC, imagine your favourite DCC as Howl’s Moving Castle lumbering across a meadow, and Gaffer as an eagle soaring through the sky. Too clichéd? ¯\_(ツ)_/¯
Here is a practical example of Gaffer being light weight have saved me in a recent project. The project is a recreation of the San Gimignano artwork by the Architect Mark Poulier done in 3D.
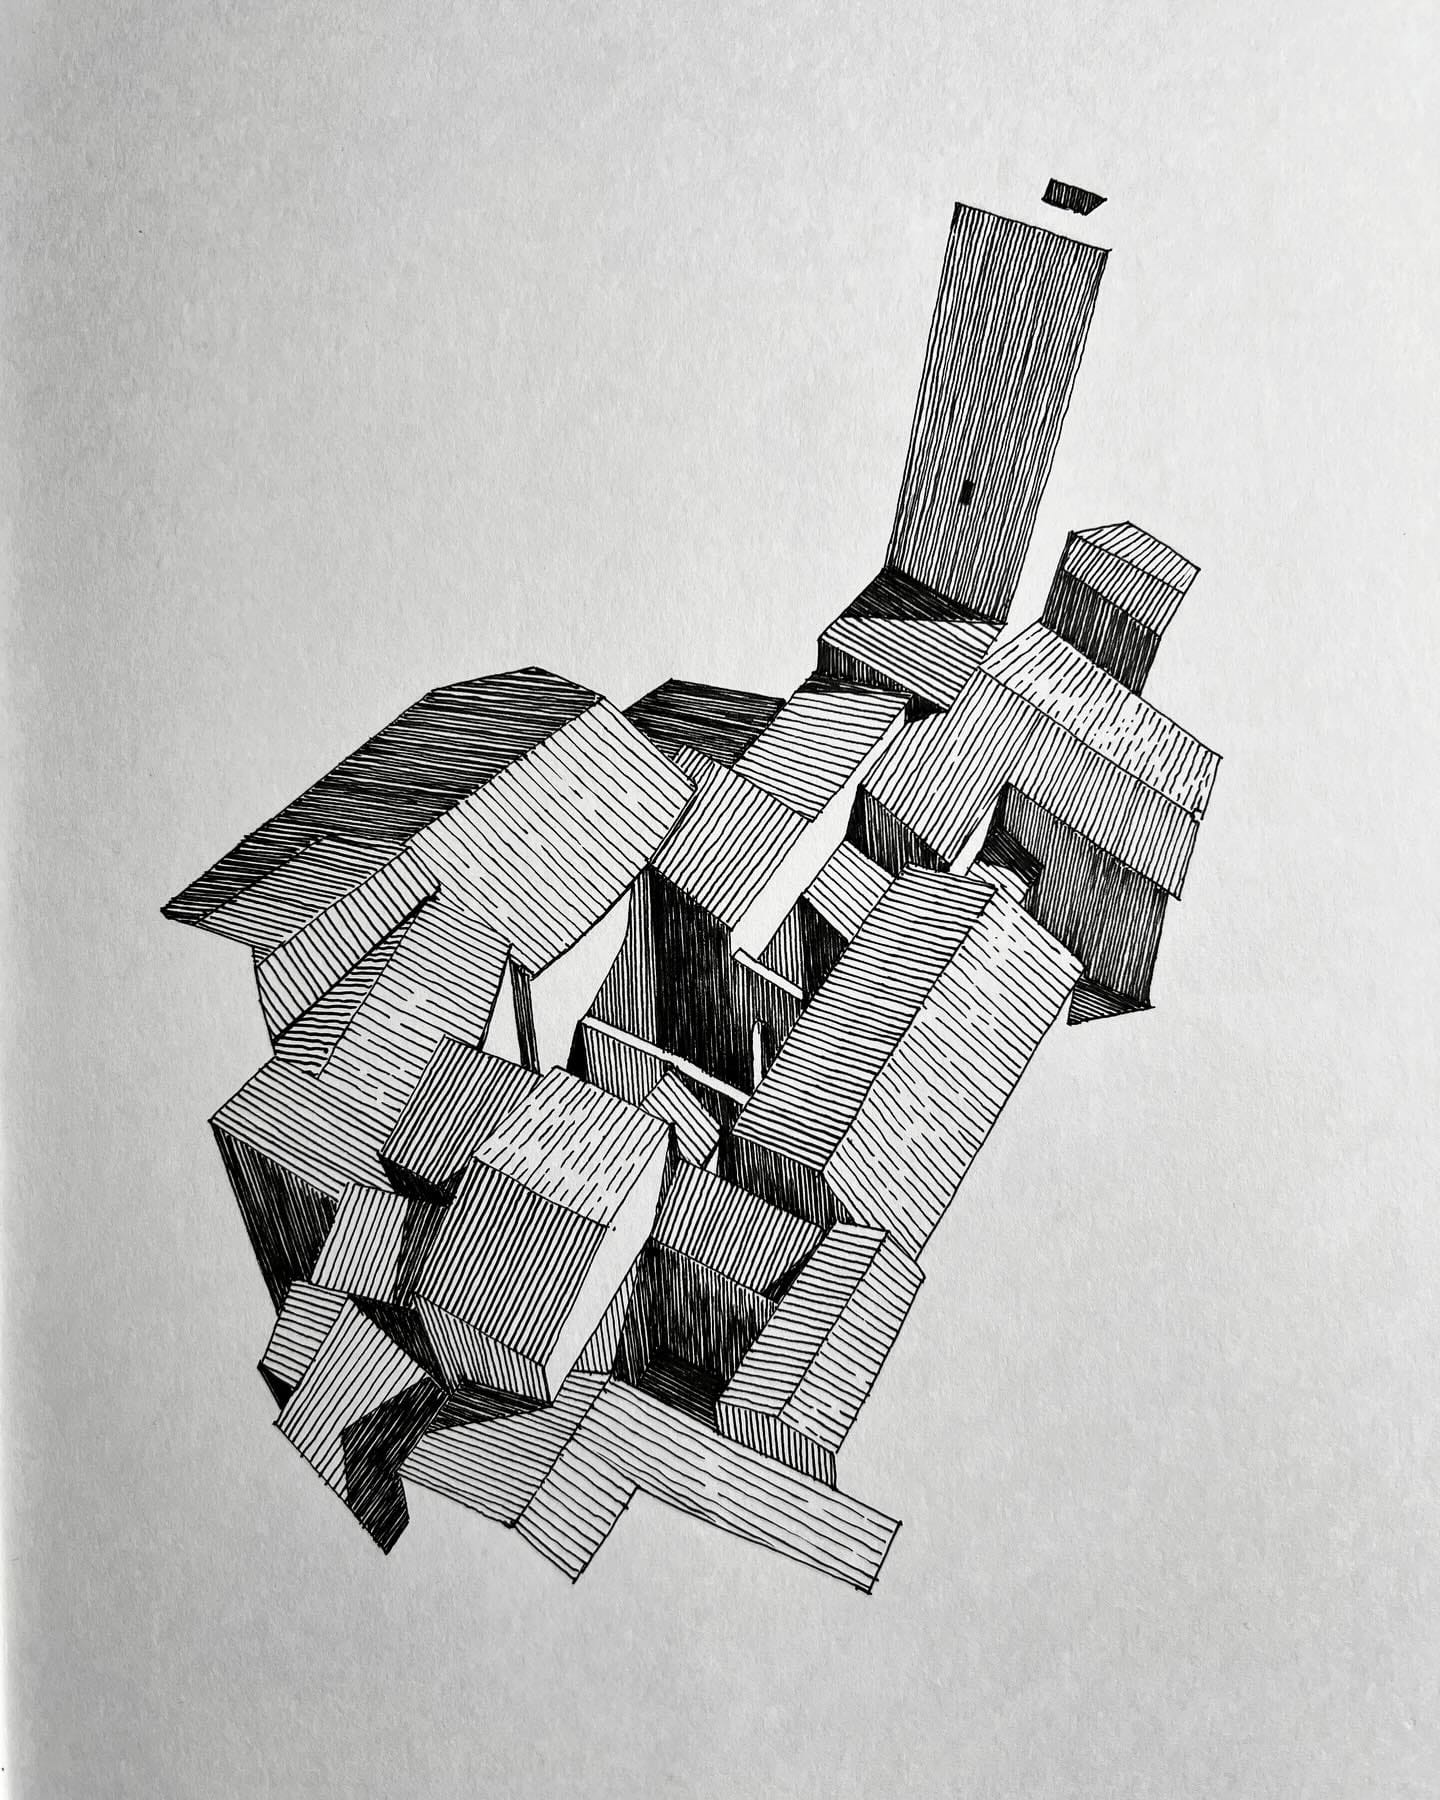
The scene was simple, with models made from plane objects. I was modelling and developing the look at the same time in Maya. My plan was straightforward: create a base shader and look for all objects, then duplicate the shader graph for any objects that needed changes. It seemed simple, but as the project progressed, Maya and RenderMan became increasingly sluggish. I had to stop IPR several times to avoid crashing Maya, which meant tweaking blindly before running another IPR preview.
Now, if you have ever worked in Maya, you would know that Maya shader duplication have issues. So, when I started having odd behaviour with my duplicated shading graphs I attributed to something happening in the background. For example, modifying the UV tiling of a duplicated shader graph would change the UV tiling for several other materials! It was amazing really. But eventually I got through and sent the artwork to be displayed at the Pixar RenderMan booth and Art & Science fair in SIGGRAPH 2026. in the back of my mind, I attributed this oddness to shared dependency graph between nodes in Maya.
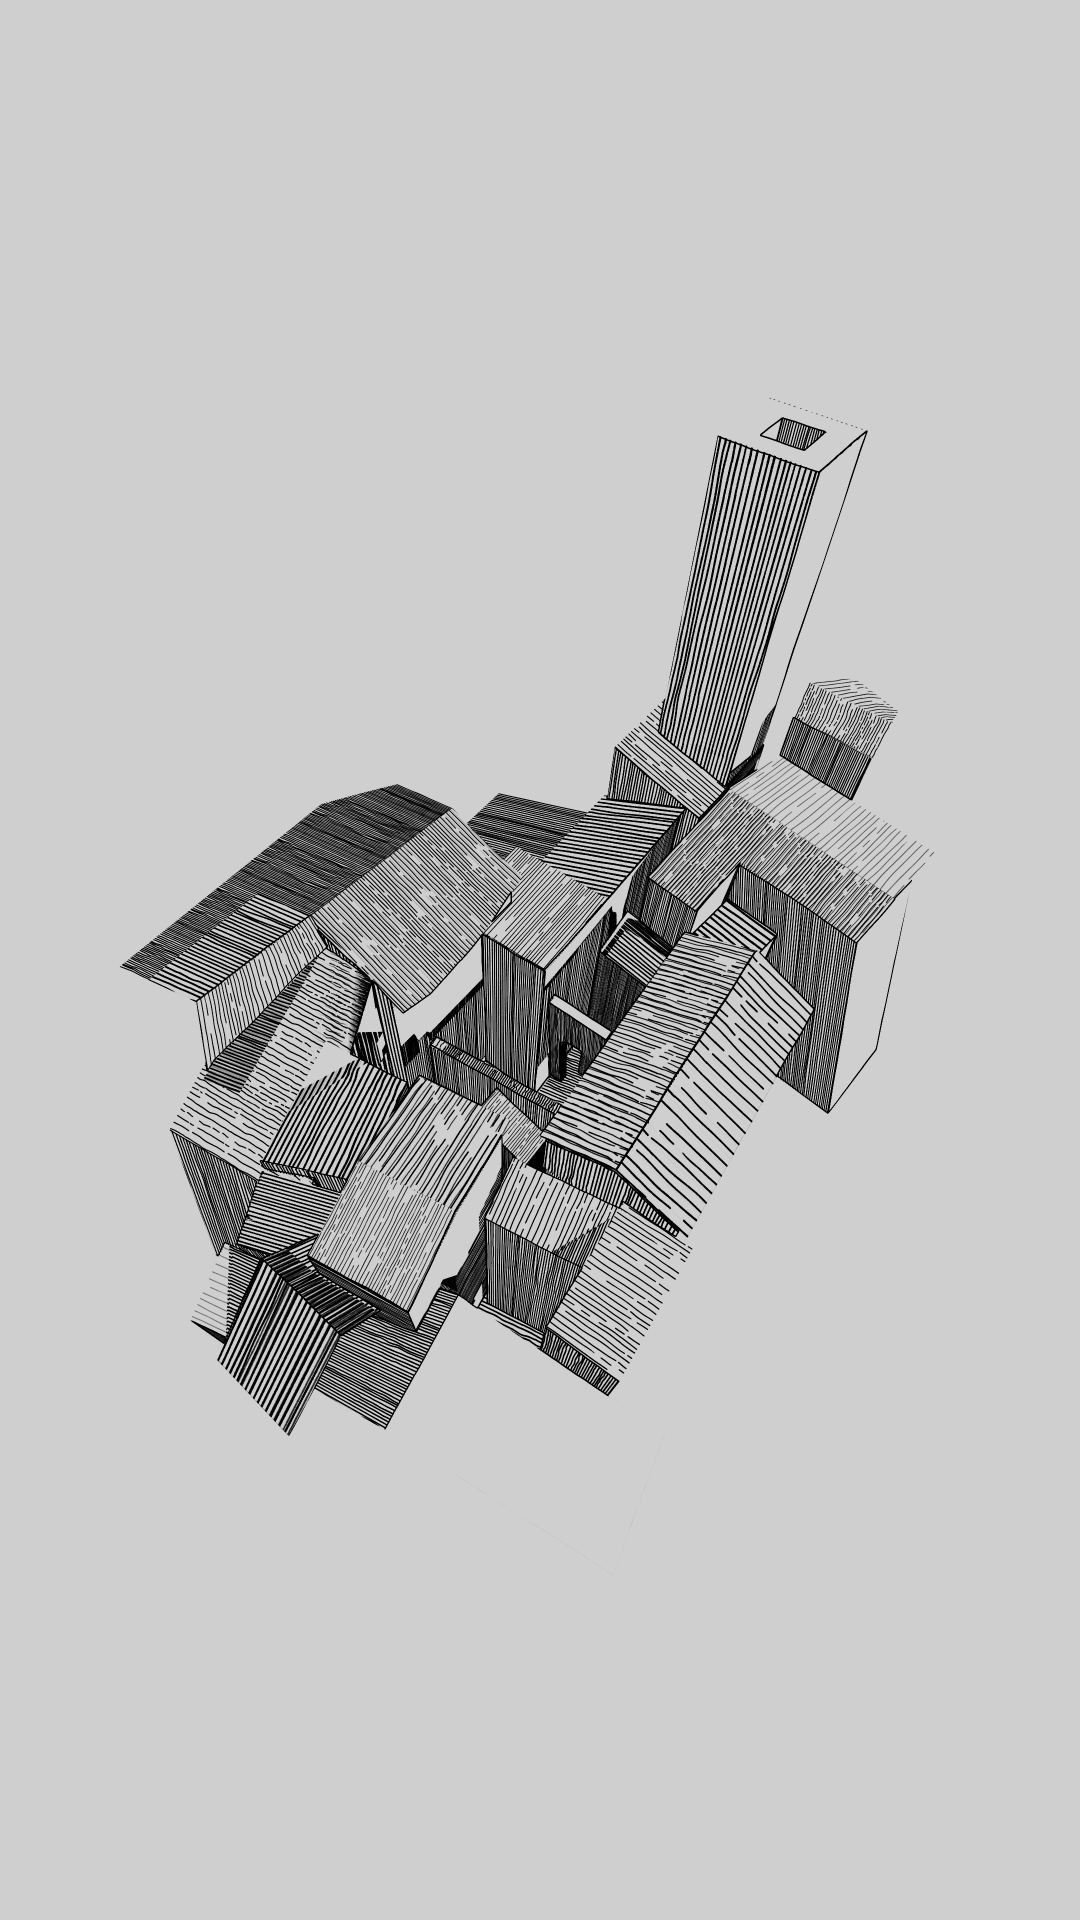
After submitting it, I realised I had forgotten to model a rooftop in the lower-right corner. It seemed like an easy fix: duplicate an object, duplicate the shading, and render again. But the new render had incorrect UVs, and some materials even lost their light response curves, putting the result far from what I wanted. I deleted the new object and rendered again, but the problem remained. And no, I had not saved versions of the WIP_FINAL file, this was the WIP_FINAL file!
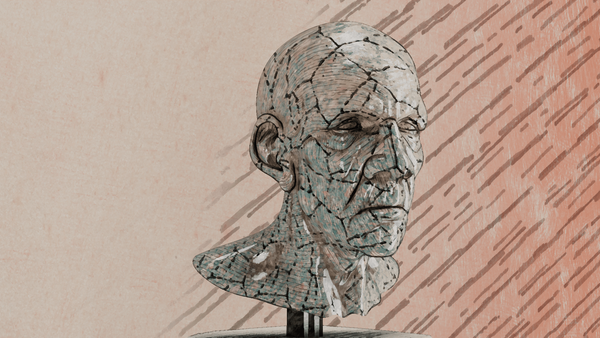
No big deal, I thought, this was surely a Maya dependency graph issue. I could easily recreate the scene in Blender: export the models, duplicate the materials there, and avoid the same problems because Blender’s material duplication is more dependable. It took a few hours to migrate the scene, including the lighting and base shading. However, as I duplicated and adjusted more shaders, the same issues that appeared in Maya began happening in Blender. I had no time to debug because the artwork needed to be submitted. I tried rendering a 4K version in Blender, but it crashed. I exported a RIB file and tried rendering from the command line, but it crashed again. Thankfully, I was able to render an HD version through IT, which I used for the submission. Then I was asked whether I could also create an animation. Fair enough, I thought, I would render it in HD since 4K was too much for Blender. But once I started the animation, Blender crashed even in IPR mode. I exported a RIB sequence to render through Local Queue, but I ran into all kinds of errors and still could not render the animation.

With no strict deadline or animation constraints, I decided to use Gaffer for the animation. This was my first time using Gaffer since the team accepted my PRs for the modifications I made to how it displays the Stylized Looks AOV
So how did Gaffer perform? I did not have a single crash while working in IPR for the whole time, seriously! At one point during the day, I panicked when I realised that I had the render running this whole time. It is PTSD, Maya and Blender developed PTSD in me 😅

There was nothing sluggish about Gaffer throughout, no quirks or hiccups modifying, duplicating, and tweaking shaders. It is a simple scene after all. And to top it off, I was able to render an animation.

San Gimignano rendered in Gaffer with RenderMan v27.3
2- Working at Scale:
I will walk you through an example setup that I've made just for this section. It will not feature dozens or even hundreds of objects. Instead, it will be a simple scene that I'm hoping will get the point across. The scene will make use of Arnold Toon shader.
In practice, toon shading can be tedious and labor-intensive because the toon zones that create the cel shaded look are usually controlled by a ramp node. A single ramp node can often be shared across multiple toon matrials, serving as a global control dial for consistent toon zones throughout the scene. However, if that ramp needs adjustment for individual object, and it almost always does, a shared node becomes impractical. As a result, each object typically needs its own toon and ramp node. Matching those ramps at the start then requires repeatedly copying and pasting ramp sections, which quickly becomes time-consuming.
The scene will illustrate several key workflows that make working in Gaffer for this scene and other shots a pleasure.
A- The Setup
The shot includes 12 objects and a camera exported from Maya. The Gaffer script reads the objects and merges them into a single hierarchical scene.

Next, I applied a single toon shading network to every object in the scene. This master shader establishes the baseline for the line work, shadows, light direction, and other key visual settings.

I have assigned a pink colour as the base colour to help me identify which objects are still reading from the master toon node and which are not.
. Initial Overrides
The limbo needed to be white, so that is the first thing I took care off. But instead of duplicating the toon shading network I inserted a ShaderTweaks node downstream. The ShaderTweaks node filters only to the limbo object and it overrides a specific property. The toon base color.

Now, I can update all the properties of the toon shading upstream and it will affect the limbo downstream except for the base color which is now white.
. What's a Wedge?!
The next step to tackle was the mat where the toys are sitting. The mat will have a two or three textures layered, also a normal map. I had three main texture themes in mind: Blue graph paper, Crayon and Scribbles. I wasn't sure which one I wanted to go with and I wanted to see my final toon shaded toys against all three themes to decide. Luckily, Gaffer offers a few nodes to help do just that.

First, I created three ShaderTweaks nodes. One for each texture options for the mat. With this setup, If I wanted to render with the Crayon texture I would only need to plug the output of the Crayon ShaderTweaks node downstream and the renderer will render that texture. But that doesn't make for an efficient workflow and it is too much clicky-clacky.
What I wanted was a workflow in which I would have the ability to work in IPR mode and have the ability to select which background I wanted to view, without modifying the node graph. And I also wanted a way to view all three rendered options side by side every now and then for easier comparison.
For that workflow Gaffer offers a NamedSwitch node. The NamedSwitch takes any number of inputs and allows me to give each input a specific name that can be referenced from anywhere in the graph. So rather than ShaderTweaks2 for example, I can can name it crayon. So I plug all three ShaderTweaks into a NamedSwitch node .

Now that I had the NamedSwitch node ready I wanted to tell Gaffer that whenever I wanted to render the three version, I want Gaffer to iterate over the names in the NamedSwitch node and render each variation to disk. So, I used a Wedge node. The Wedge node will make Gaffer dispatch (dispatch is the command to do a batch render) the script multiple times in the range found in the NamedSwitch node.

Furthermore, I didn’t want to go hunting for those rendered images myself to compare in photoshop or another app. Instead, once the rendering is completed, I wanted Gaffer to collect the rendered image into a ContactSheet node and show me the images side by side.

So now, when I start updating the toon shader and adding the individual textures I can see the render against all 3 backdrops.
. More Light Options
I wasn’t sure about the light direction, so I created three different directions of the same light and as before I plug the different rotation it into a NamedSwitch and give each a name: center, left and right.

Downstream I added a Wedge node. I added it before the Mat Wedge because I wanted to see the three mat textures against the three light directions.

So the ContactSheet will now display 9 images for me for 3 different light direction and 3 different mat textures.

. Line Variations with a Spreadsheet?
The NamedSwitch is very useful, but it is not ideal for finer control, especially when many attributes needs to change. For example, I was not happy with the line art and wanted to test how a dashed or randomly spaced lines would look across all lighting directions and mat textures. This was not a simple adjustment because it required changing several attributes. Duplicating the main toon shader would also mean it was no longer the master node, forcing me to maintain two separate shading networks.
Instead, Gaffer provides an elegant solution: a spreadsheet. Yes, really, a spreadsheet. Technically it is a CSV-style table, but not a separate CSV file that you create in Excel or another spreadsheet application. It is a Spreadsheet node inside Gaffer. The node is dead simple to create and use: right-click any attribute in a node to create a new spreadsheet with that attribute added as a column, or add the attribute to an existing Spreadsheet node. The row can either have a made up name, or it can be an object name. The context of change determines what is the name of the rows.

In the screenshot above. I have two rows. normalLines is the default straight continuous line. dashedLines row contains all the attribute the needs changing along with their values to achieve a dashed line-art look. Separately I’ve added a ContextVariable node to the IPR section of the graph. This node allows me to pick which line type, light direction, and mat texture I wanted to view whilst working in IPR mode.
The two line options are added to the dispatcher using a Wedge node as two more options for each light direction and mat texture. Raising the total number of rendered image which are collected in the ContactSheet node to 18 images.
. Overriding Individual Materials
With the main workflow completed, it was time for loading the object textures and make modifications to their individual toon controls.
Instead of creating multiple ShaderTweaks nodes for each object, I used a single ShaderTweaks node for all the toys and drove each object’s individual attributes through a Spreadsheet node. The Spreadsheet stored the albedo image name, normal map name, edge detection threshold, line rotation, and normal map strength.

With everything now loaded and in place. I can preview my render through an IPR whilst choosing which variation I’m interested in. And I’m also able to view all the variations at once by rendering to disk.

. The Node Graph
The screenshot below highlights the complete graph for this script. There are no hidden nodes and if I were pressed, I would have simplified the node graph even more. There are so many other clever ways that Gaffer can make this node graph even smaller and manageable.

From here on I can load new object onto the shot. The objects will render in pink to help me identify that it needs special attention. Once the object is added to the ShaderTweaks node the object will be well integrated into the shot.
What is even more interesting is that I can copy nodes, group of nodes or the entire node graph and paste into another gaffer script, the node will integrate and function without any issues in the new script.
I hope this small scene and walkthrough of its setup gave you a clearer understanding of how Gaffer works and how it can help you iterate faster on any scene and scale.
3- Rendering Choices:
How often would an artist or a studio switch render engines for specific shots in a production? Not often, but it does happen, usually because some render engines handle certain effects better than others. For example, one renderer may process volumes faster and produce better visual quality than another. In a traditional DCC this would require having a seperate scene specific to that render engine. Worse, studios usually don't load multiple render engines in a single session in a DCC. Instead, they have individual launchers for each render engine.
In Gaffer, it is straightforward to keep two render engines within the same graph. This does not mean they render simultaneously! instead, different parts of the scene can be assigned to different render engines within a single graph. Reassigning a model’s shader becomes a simple fork in the node graph, which is very different from saving a separate scene file with explicit shader assignments for each object.

In the screenshot above, I wanted to test the San Gimignano shading that I created in RenderMan against the Arnold render. I copied the all the shader nodes, render options nodes, output nodes with all the required AOVs for debugging and finally the display filter node. I pasted those node the script and plugged the models into the copied ShaderAssignment node. That is all that was required to render the above image.
In Conclusion
That’s it. These are the problems, or more accurately, the challenges that Gaffer is designed to solve. Is Gaffer unique to the VFX market? No. Foundry Katana, SideFX Solaris, and, to some extent, Mercenaries Engineering’s Guerilla Render aim to solve similar problems and challenges.
For me, Solaris is not something I can pick up in a day and use on a real project. It is powerful and complete, but simplicity is not its focus. Katana is far beyond the budget of an indie artist. Guerilla Render is also a strong tool with a capable renderer, but until it offers a toon framework, I’ll continue using Gaffer for most of my work.
I hope this article has given you a clearer sense of what Gaffer can offer and how it can improve your work. This article barely scratched the surface of what Gaffer has to offer, so expect more Gaffer content from me, including a hands-on series that follows a project from import to completion. If you haven’t signed up yet, please do so to stay updated on new content. Until then, all the best.🤟🏼